Looking for the perfect gift for a child in your life? Look no further than an audiobook with buttons! These books are a great way to keep kids entertained and engaged while they listen. Kids love being able to press buttons to hear the characters come to life, and it makes for a more enjoyable listening experience. In this blog post, we will discuss how to make a kid’s audiobook today.
Make the children’s audiobook design
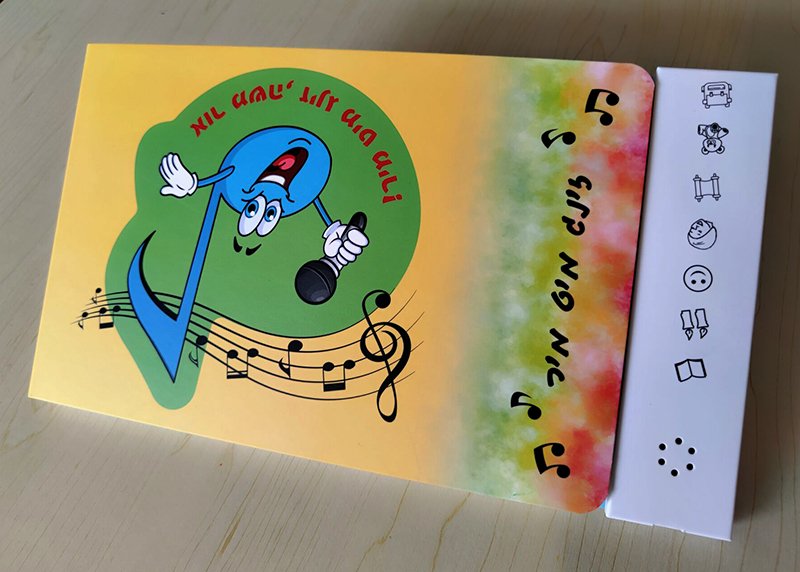
When it comes to children’s audiobooks, the design is just as important as the story. After all, children are notoriously fickle creatures, and if they’re not engaged by the book, they’re likely to lose interest very quickly. So how do you make an audiobook that will capture a child’s attention?
buttons that make sounds. This will not only help to hold their attention, but it will also give them a chance to interact with the story. In addition, the book should be designed in an interesting way that will make children want to keep coming back to it. If you can achieve these things, then you’ll have a children’s audiobook that is sure to be a hit.
Design the children’s audiobook by determining how many buttons will be needed and where they will be placed. It is important to consider the age of the child when making this decision. For example, younger children may need larger buttons that are easier to press, while older children can handle smaller buttons.
Record music and sounds
Now that you have designed the children’s audiobook, it is time to record the audio for each page. Kids will love hearing their favorite stories come to life as they press the buttons on each page.
To get started, record yourself reading the story aloud. Make sure to add inflection and emotion to your voice to bring the story to life. Kids will be captivated by your performance!
Next, add in any sound effects that are needed. For example, if there is a character who loves to sing, you may want to include some background music. Or, if there is a scene where someone is cooking, you can add in the sounds of sizzling and chopping. Be creative and have fun!

Finally, add in any background noise that may be needed. For example, if the story takes place outside, you may want to include the sounds of birds chirping or leaves rustling. This will help transport the listener into the world of the story.
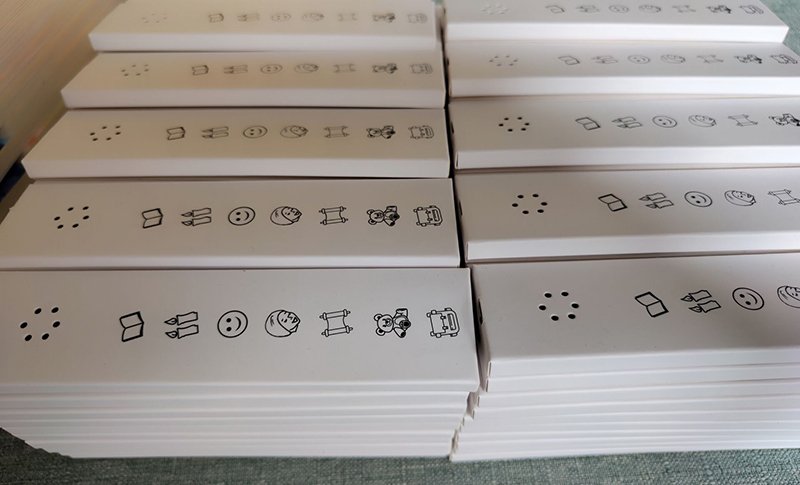
You can make many buttons, each with a different sound.
With your audio recordings complete, your children’s audiobook is ready to be enjoyed! Kids will love pressing the buttons to hear the story come to life.
1) This is an excellent educational tool that will help children learn about different sounds and animals.
2) The book is very interactive, which will keep children engaged and entertained.
3) Printed books are becoming a thing of the past, so this is a great way to keep this traditional form alive.
4) The audio book is perfect for travel, as it will keep children occupied and entertained for hours on end.
Printing audiobooks
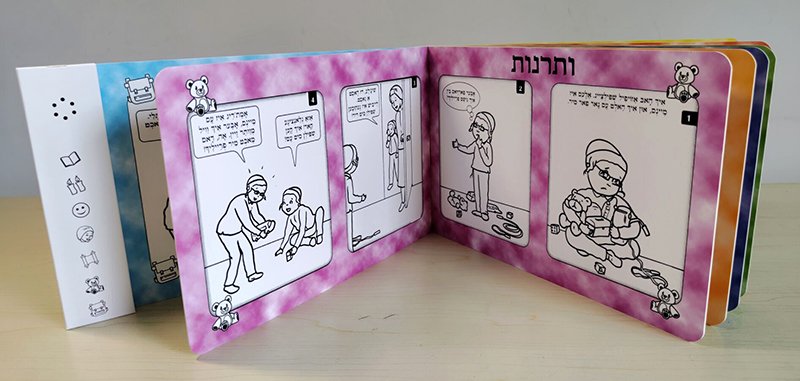
Now that you have recorded the audio for your children’s audiobook, it is time to print it out. To get started, print out the book’s cover and pages.
Audiobooks are all the rage these days, and there’s no better way to enjoy them than by printing them out yourself. That’s right, with a few simple steps, you can turn your favorite audiobooks into high-quality prints that you can enjoy any time, anywhere.
The first step is to choose a printer that supports CMYK printing. This type of printing produces superior results when printing audiobooks, as it allows for more accurate reproduction of soundwaves. Once you’ve selected a CMYK printer, simply send your audiobook files to the printer and then laminate the prints. This will protect the prints from damage and ensure that they last for years to come.
Finally, cut the prints into individual pages and bind them together using a simple stapler or binding machine. And that’s it! You now have your very own printed copy of an audiobook.
Assemble sound buttons on the book

- Now that you have recorded the audio and printed out the pages, it is time to assemble the sound buttons on the book.
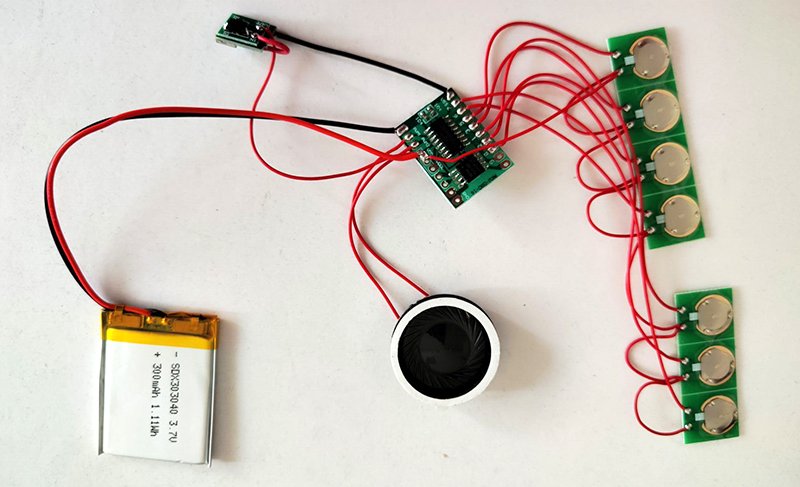
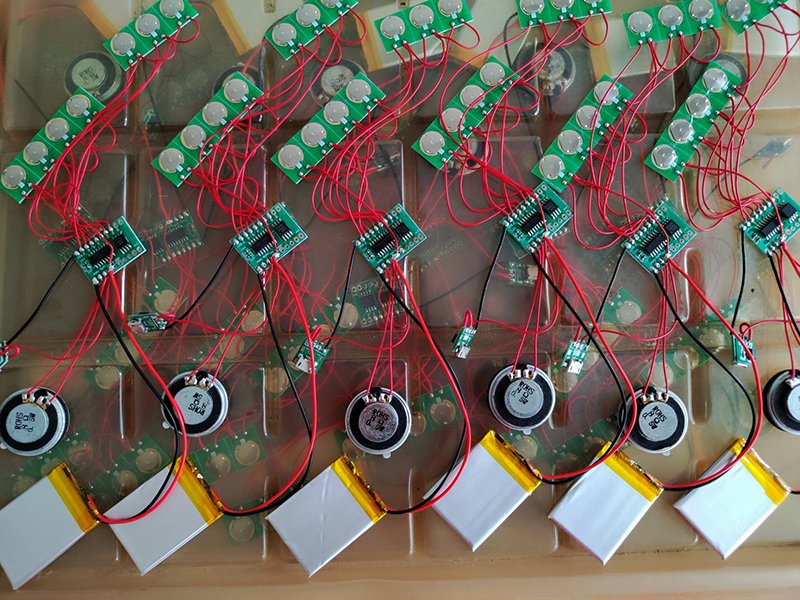
First you need the sound panel. This includes the speaker, the sound icon, and the battery. The buttons are also on this panel. The sound module is inside a sleeve, which is called the sound panel. This is the most important and complicated part.
Then Just stick the panel on the book with double-sided tape and each button will make a different sound
Test and pack
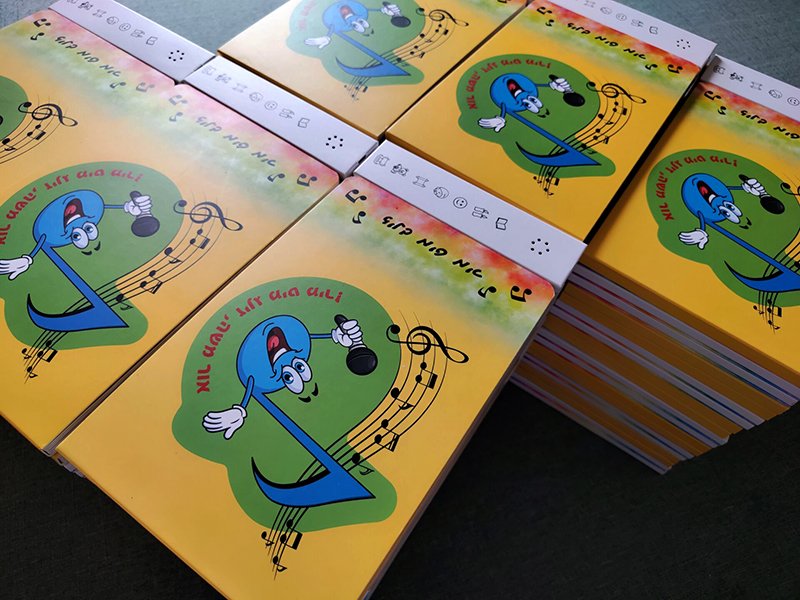
To make sure everything is working properly, test your audiobook before packing it up. Kids will love hearing their favorite stories come to life as they press the buttons on each page.
Now that your children’s audiobook is complete, it is time to wrap it up and give it to the lucky child in your life.
Audiobooks for kids are a great way to keep kids entertained and engaged while helping them develop. We hope this article has given you all the information you need to get started on your own audiobook masterpiece If you’re interested, our team of professionals can help you along with this fun project too! Contact us to get started!


