

Making a video brochure involves more than simply adding a screen to a printed cover. You need to choose the right screen size, memory, brochure format, printing finish, and playback controls before production begins.
As a video brochure manufacturer, CheerTrend helps customers complete the full process from custom design and printing to electronic assembly, testing, and final packaging.
To make a video brochure, first confirm the screen size, memory capacity, brochure dimensions, printing options, buttons, and playback method. Then prepare the artwork and video files before moving into printing, electronic assembly, testing, cleaning, and packaging.
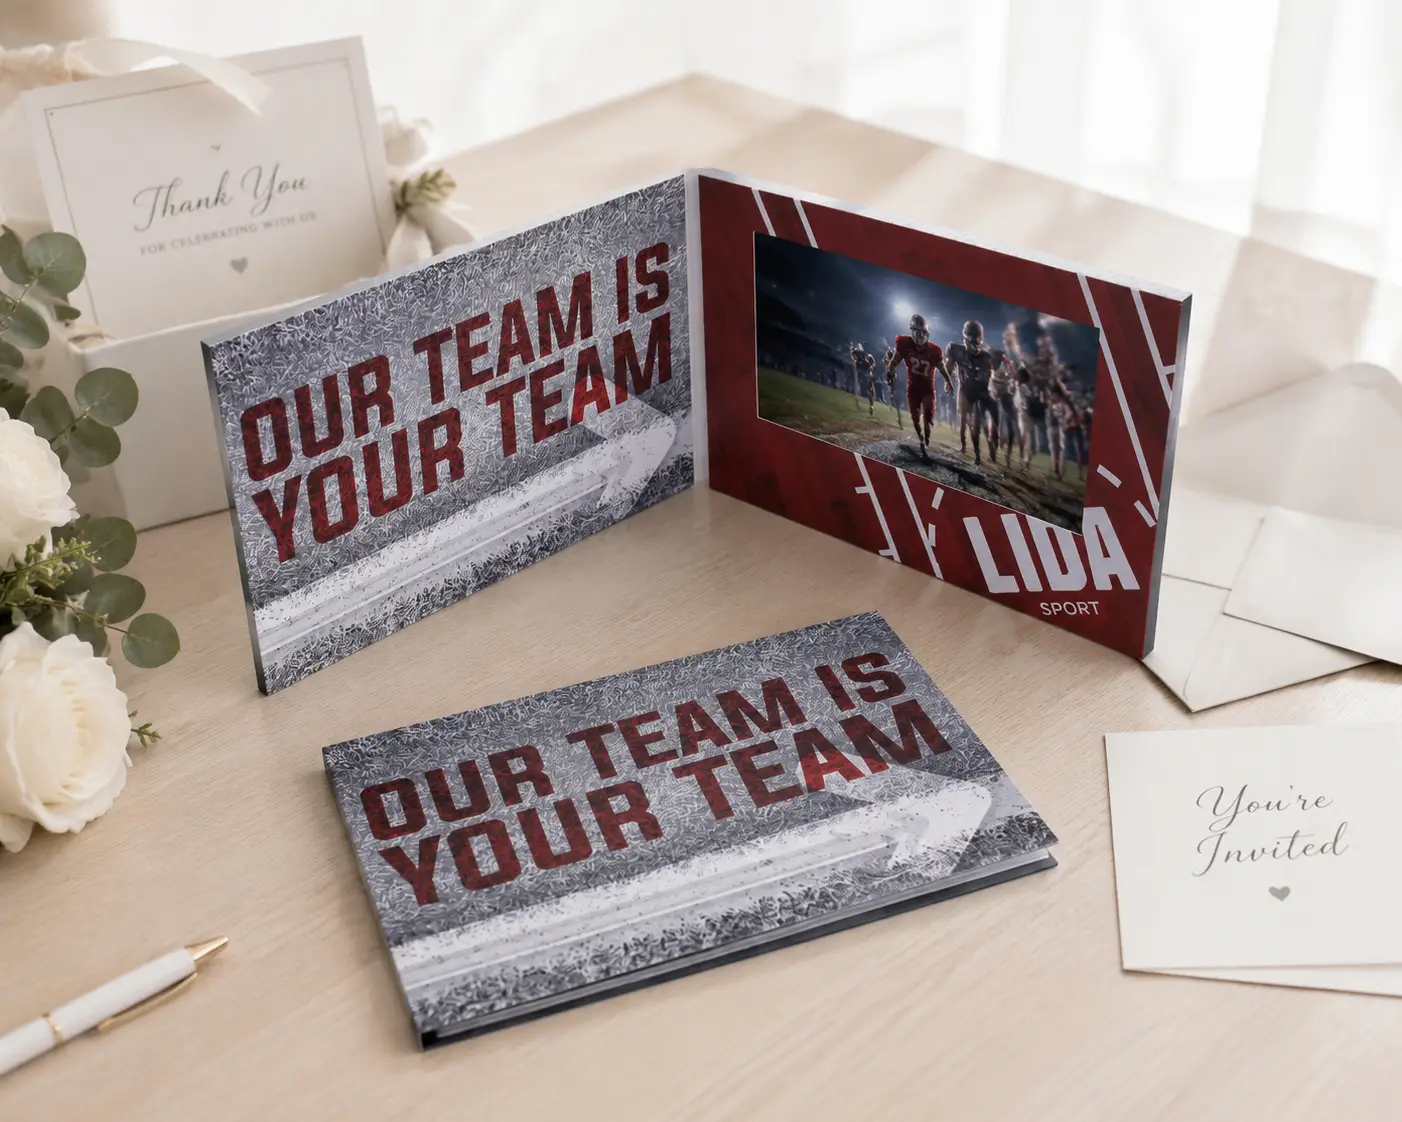
In this guide, we’ll walk through the main decisions you need to make before ordering, then show the actual step-by-step assembly process used to manufacture a video brochure.
What Is a Video Brochure?
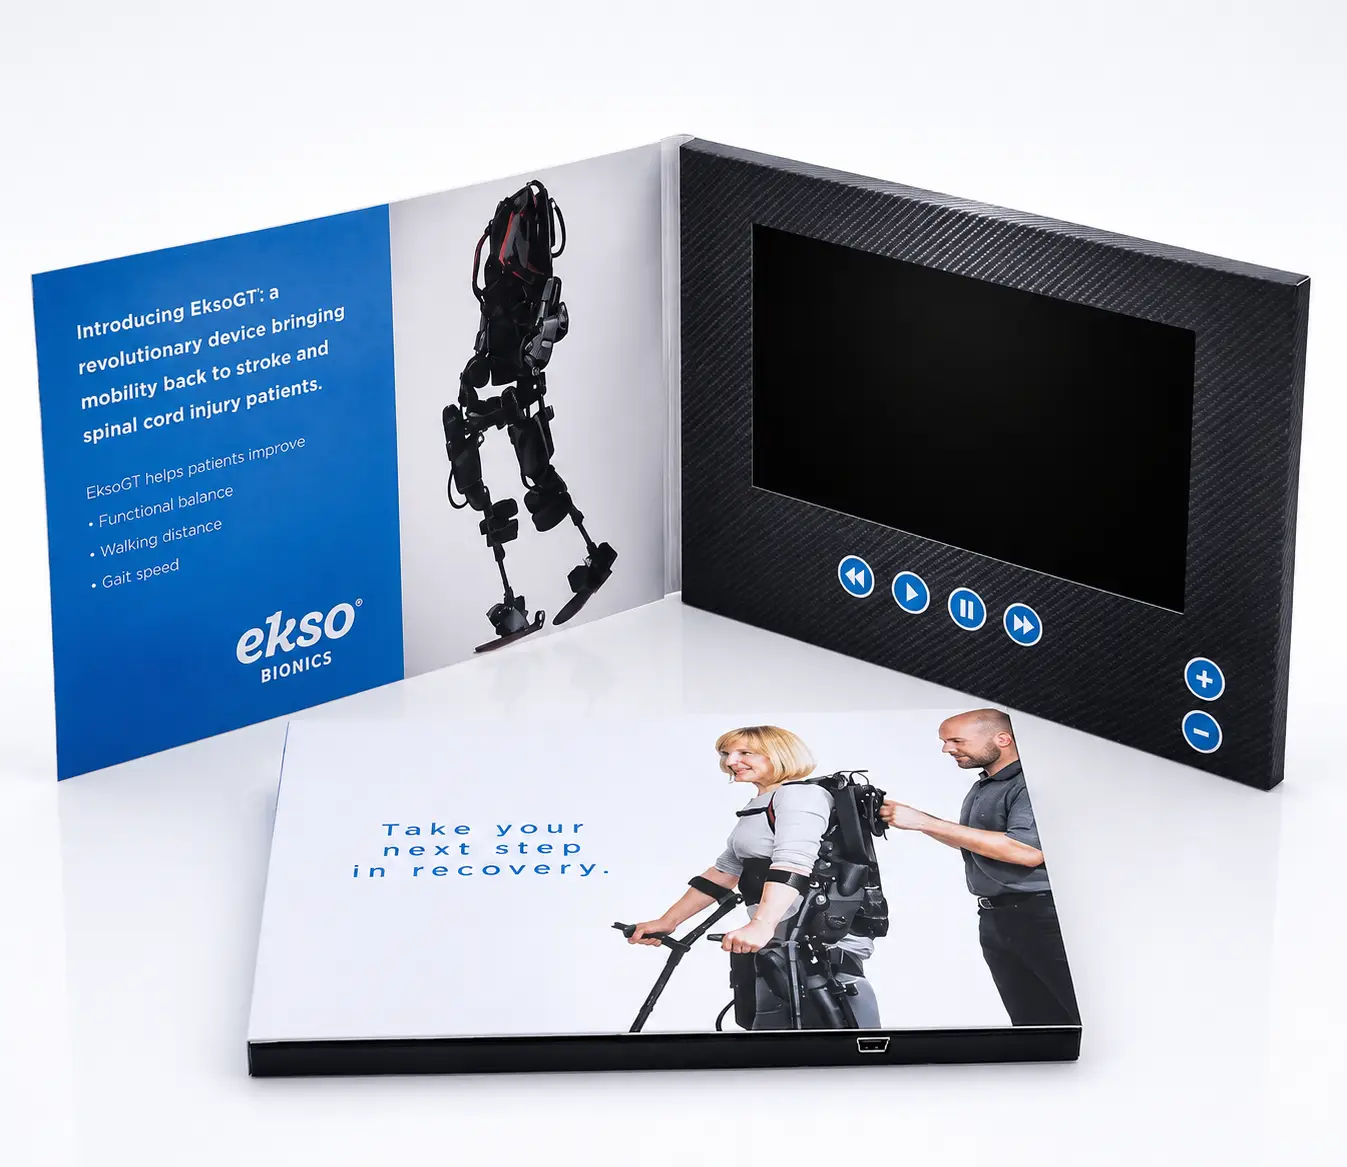
A video brochure combines a custom-printed paper cover with an embedded LCD screen and electronic components that play video when the brochure is opened or when a button is pressed.
Depending on the design, a video brochure can include multiple video buttons, volume controls, speakers, rechargeable batteries, magnetic auto-play, and different memory capacities.
Video brochures are commonly used for sales presentations, real estate marketing, healthcare communications, product launches, corporate presentations, and premium direct-mail campaigns.
Why Use a Video Brochure?
| Feature | Benefit |
|---|---|
| Engaging Video | Captures attention quickly |
| Custom Design | Matches your branding and campaign |
| Reusable Content | Video files can often be updated |
| Memorable Presentation | Creates a stronger physical presentation than standard print |
Key Decisions Before You Order
Before production begins, six decisions determine how your video brochure will look, perform, and cost:
Screen size — ranges from 2.4" to 10.1", and affects both viewing experience and overall brochure dimensions. For a detailed breakdown of which size fits which application, see our full screen size guide.
Memory capacity — should be selected based on your final video file size, not just playback length. Our video brochure memory guide covers how resolution and compression affect the memory you need.
Brochure size and printing — standard formats like A5 and A4, or fully custom dimensions, combined with finishing options such as UV coating, foil stamping, and lamination. See our printing and finishing guide for the full range of options.
Buttons and playback controls — single-button auto-play, multi-button video selection, or touch-activated playback. Our video brochure buttons guide explains which setup fits different use cases.
Battery and power — rechargeable battery capacity affects how long the video brochure can operate between charges. See our battery guide for typical capacities and expected usage time.
Cover structure — softcover or hardcover construction, which affects durability and presentation feel. Our cover types guide compares the options.
Confirm these six items before finalizing artwork — changes made after production begins are difficult and costly to accommodate.
How Does the Production Process Work?
Once specifications, artwork, and video files are confirmed, production moves through printing, electronic assembly, functional testing, cleaning, and packaging.
The exact production method varies depending on screen size, cover structure, buttons, and battery, but the overall process is similar for most video brochures.

Video Brochure Manufacturing Process
- Specification Confirmation – Confirm screen size, brochure size, memory, buttons, battery, cover structure, playback method, and quantity.
- Artwork Approval – Prepare the artwork using the supplied die-cut template and confirm the screen window and button positions.
- Printing and Cover Preparation – Print, laminate, die-cut, and crease the paper cover.
- Electronic Assembly – Install the LCD screen, PCB, battery, speaker, buttons, wiring, and internal support materials.
- Testing and Packaging – Test playback, buttons, sound, charging, auto-play, and appearance before cleaning and packing the finished brochures.
How Is a Video Brochure Assembled?
Watch the Video Brochure Assembly Process
Watch how a video brochure is assembled, tested, cleaned, and prepared for final packaging.
Step 1: Apply Double-Sided Tape to the Paper Cover
The following steps show the typical assembly process used for a custom video brochure.
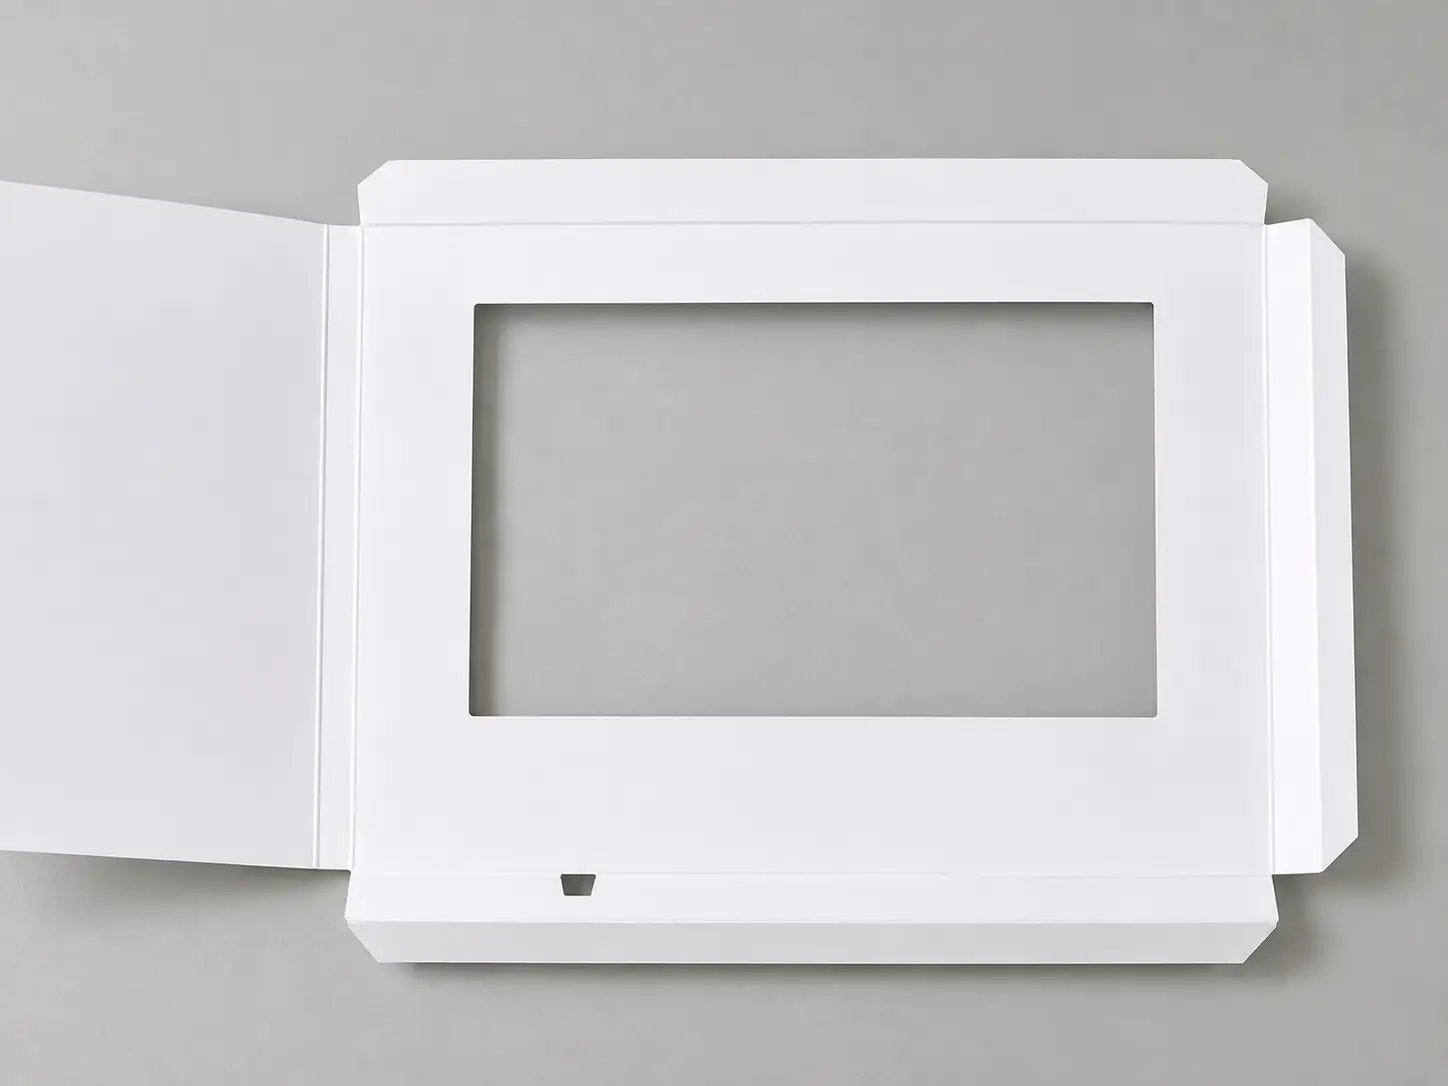
Double-sided adhesive tape is applied to the prepared paper cover.
The tape is positioned carefully around the internal mounting areas so the EVA foam and electronic components can be fixed securely during assembly.
Step 2: Install the EVA Foam
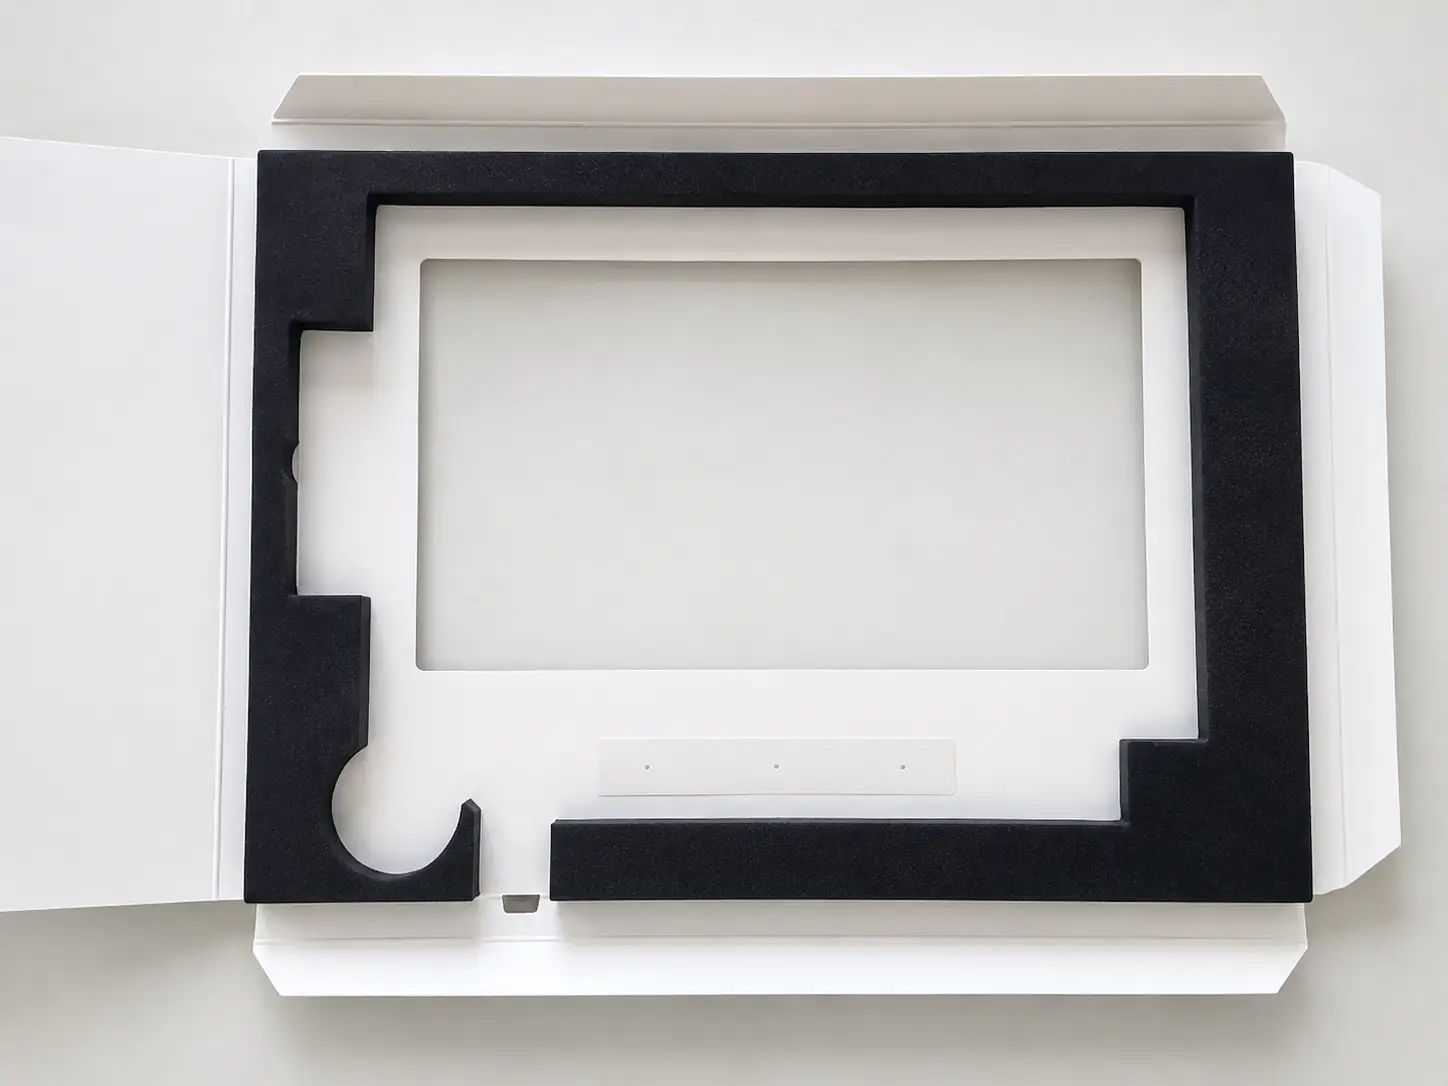
EVA foam is attached inside the paper structure to support and protect the electronic components.
The foam also helps maintain the correct spacing around the LCD screen, PCB, battery, speaker, and buttons.
Step 3: Align the LCD Screen With the Window
The LCD screen is carefully aligned with the die-cut window in the cover.
Accurate alignment is important because even a small offset can make the finished brochure look uneven.
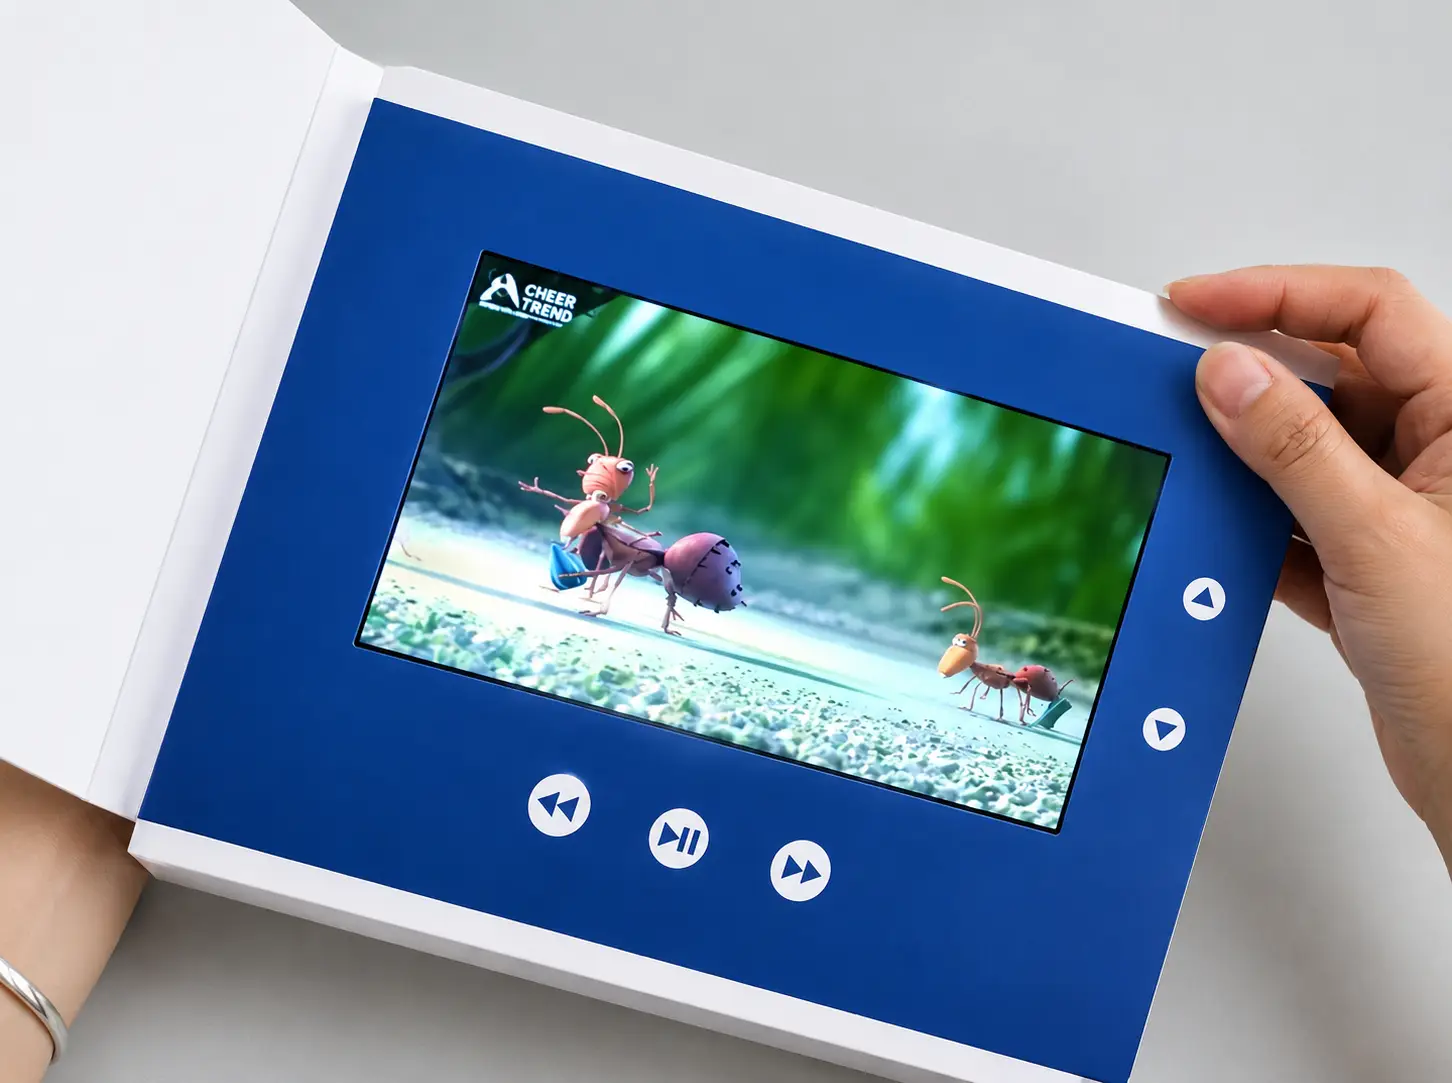
Step 4: Fix the Screen and Electronic Module
After alignment, the LCD screen and electronic module are secured inside the brochure.
The PCB, battery, speaker, wiring, and button components must remain firmly positioned so they do not move during use or transportation.
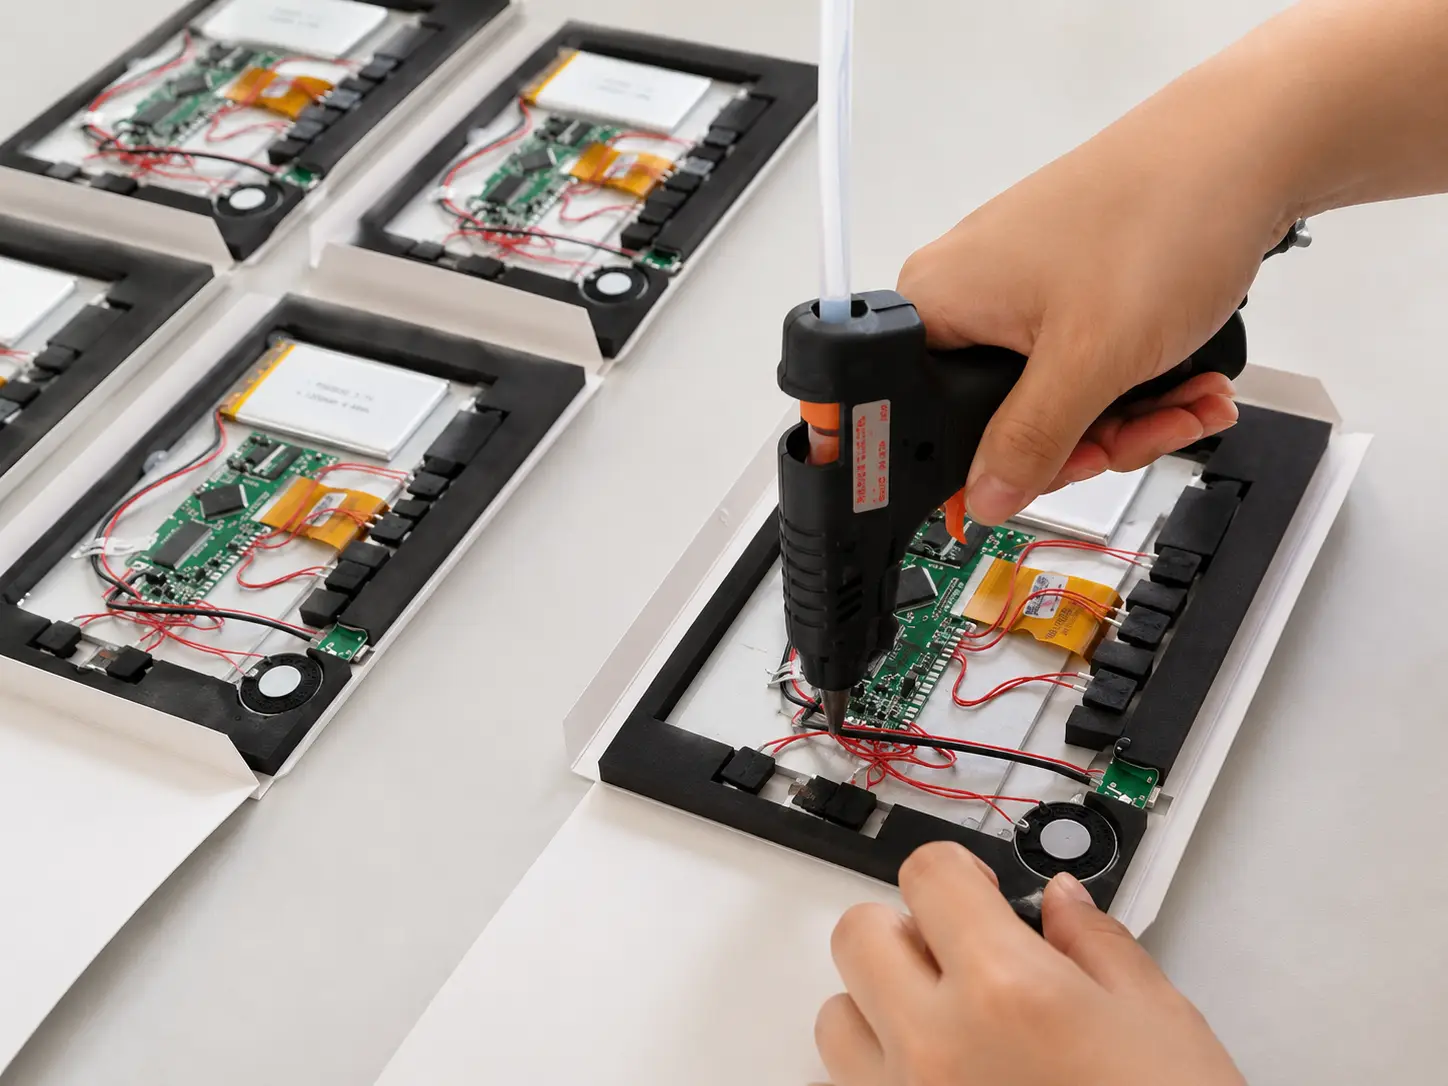
Step 5: Fold and Secure the Paper Structure
Once the internal components are positioned correctly, the paper structure is folded along the prepared crease lines.
The internal layers are pressed and secured to create the final brochure structure.
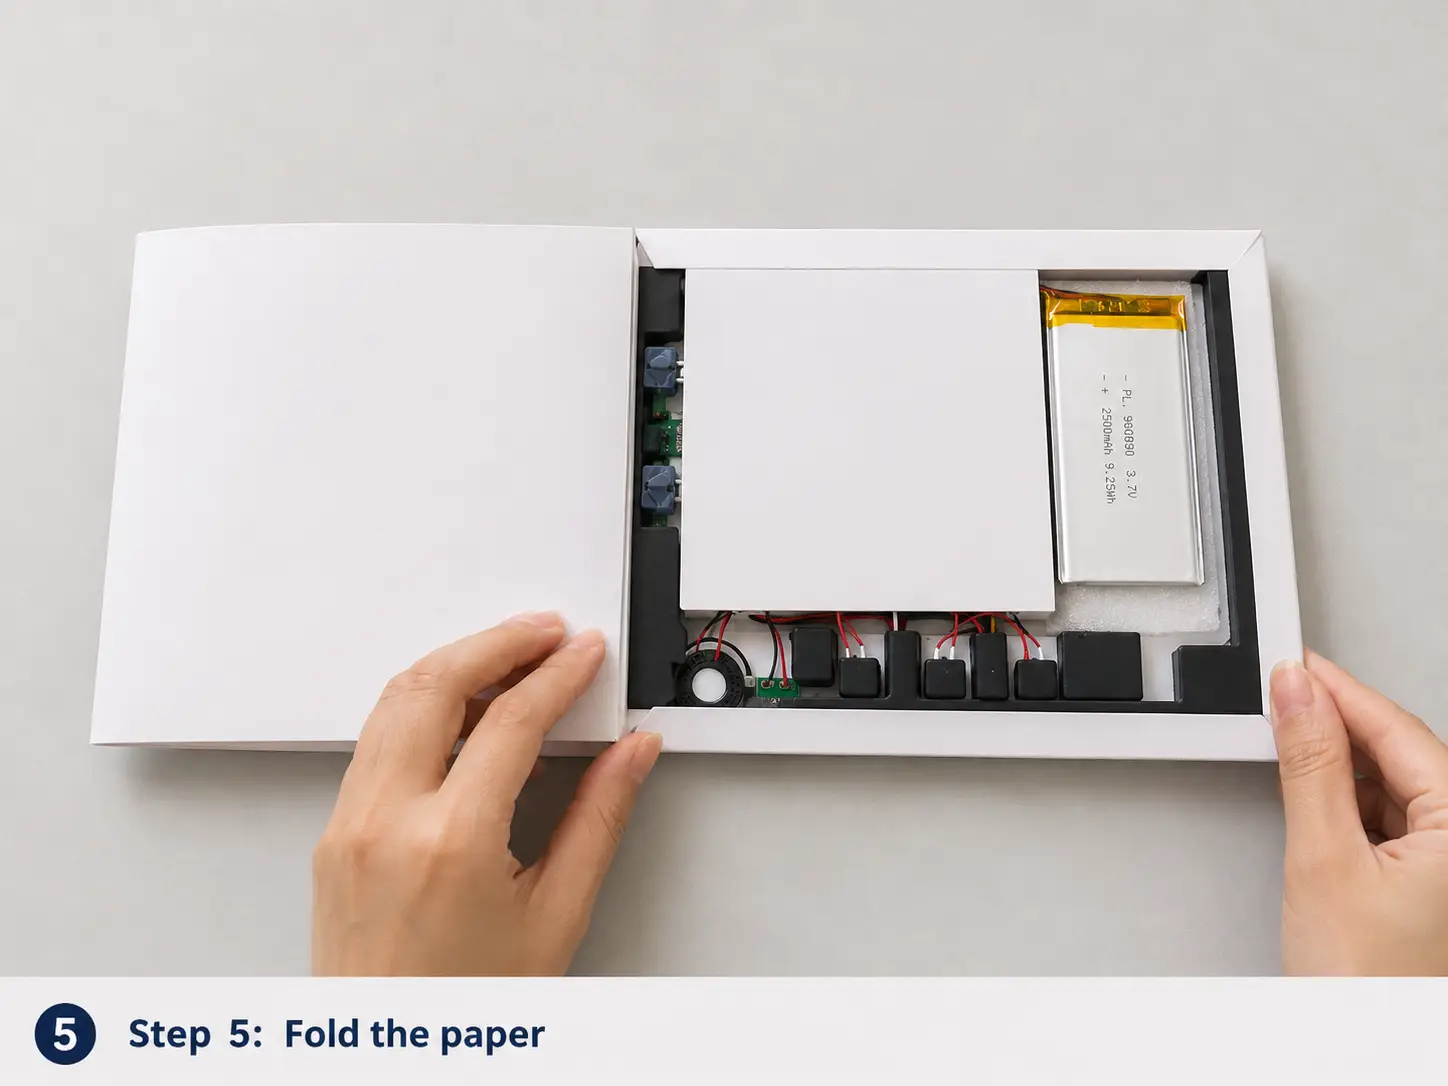
Step 6: Install the Magnet for Auto-Play
For brochures with magnetic auto-play, a small magnet is installed in the cover and aligned with the Hall sensor inside the electronic module.
Correct positioning is important because the magnet controls whether the video starts when the brochure is opened and stops when it is closed.
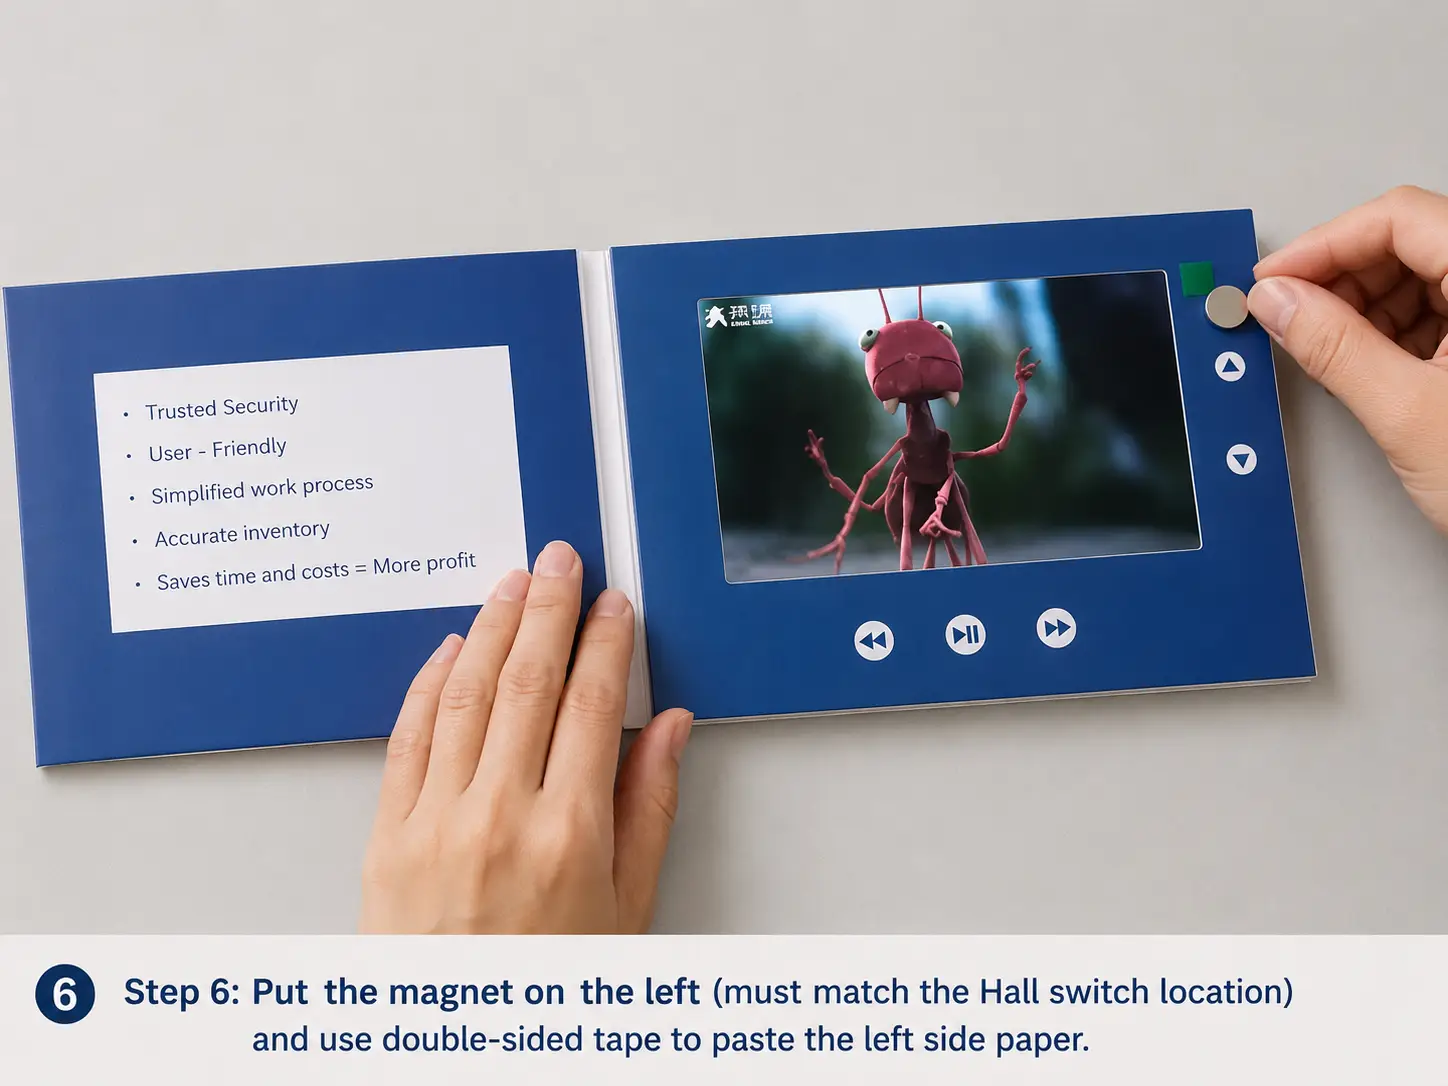
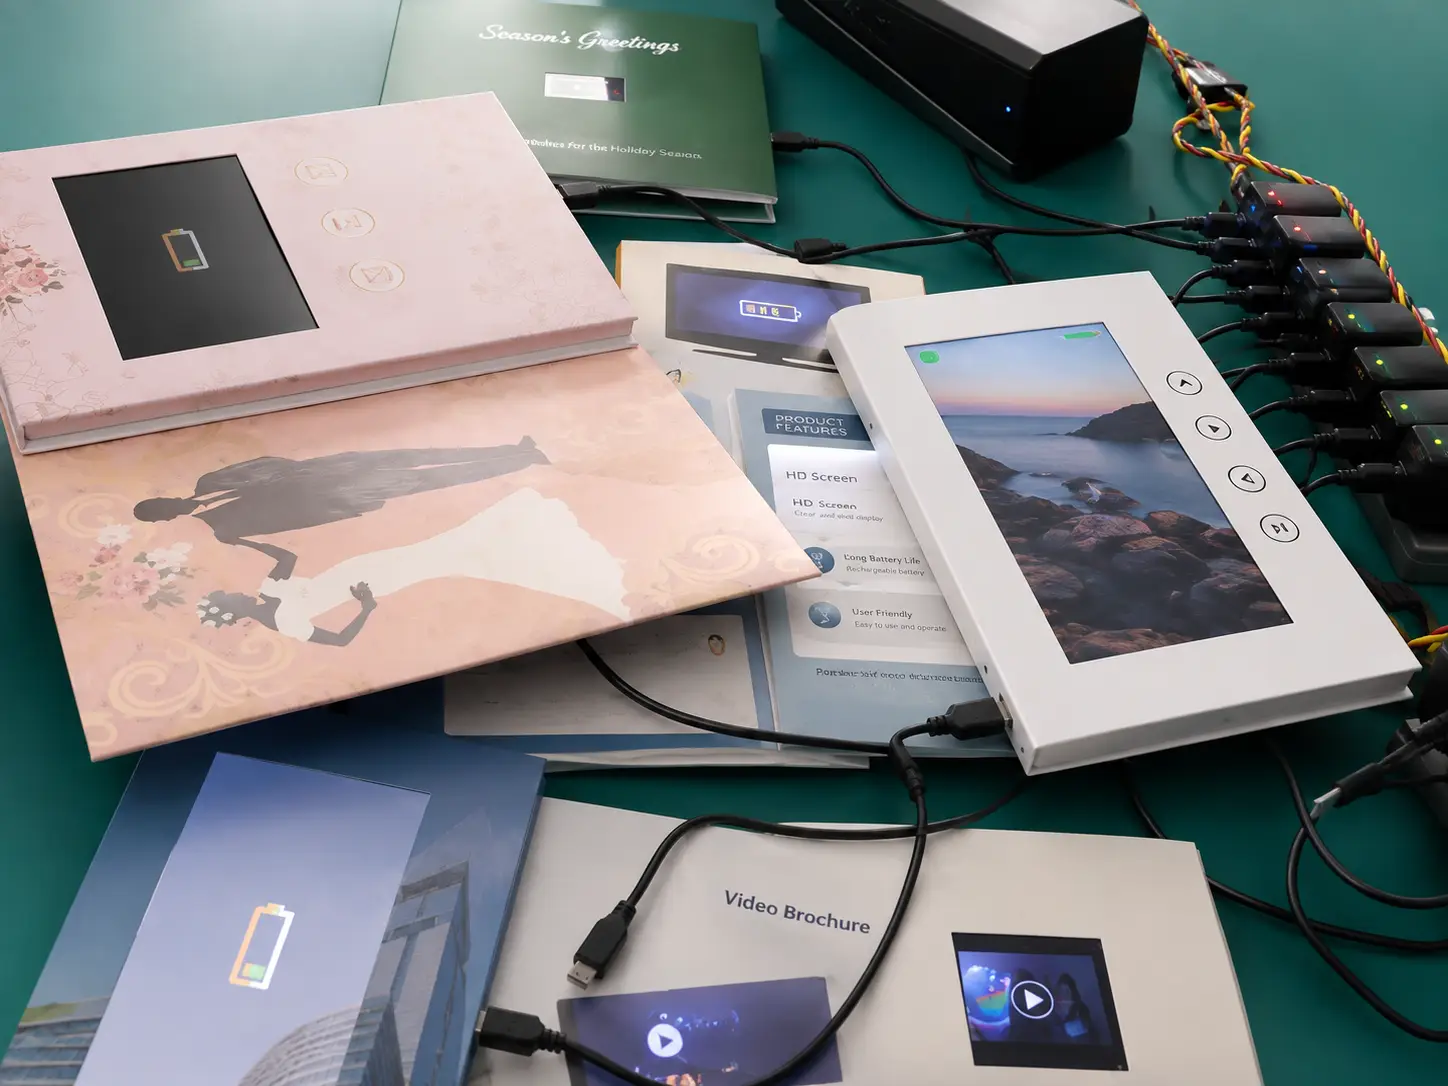
Step 7: Charge and Test the Video Brochure
Each brochure is charged and function-tested before final inspection. Testing typically includes:
- video playback
- screen display
- button functions
- speaker and volume
- charging
- magnetic auto-play
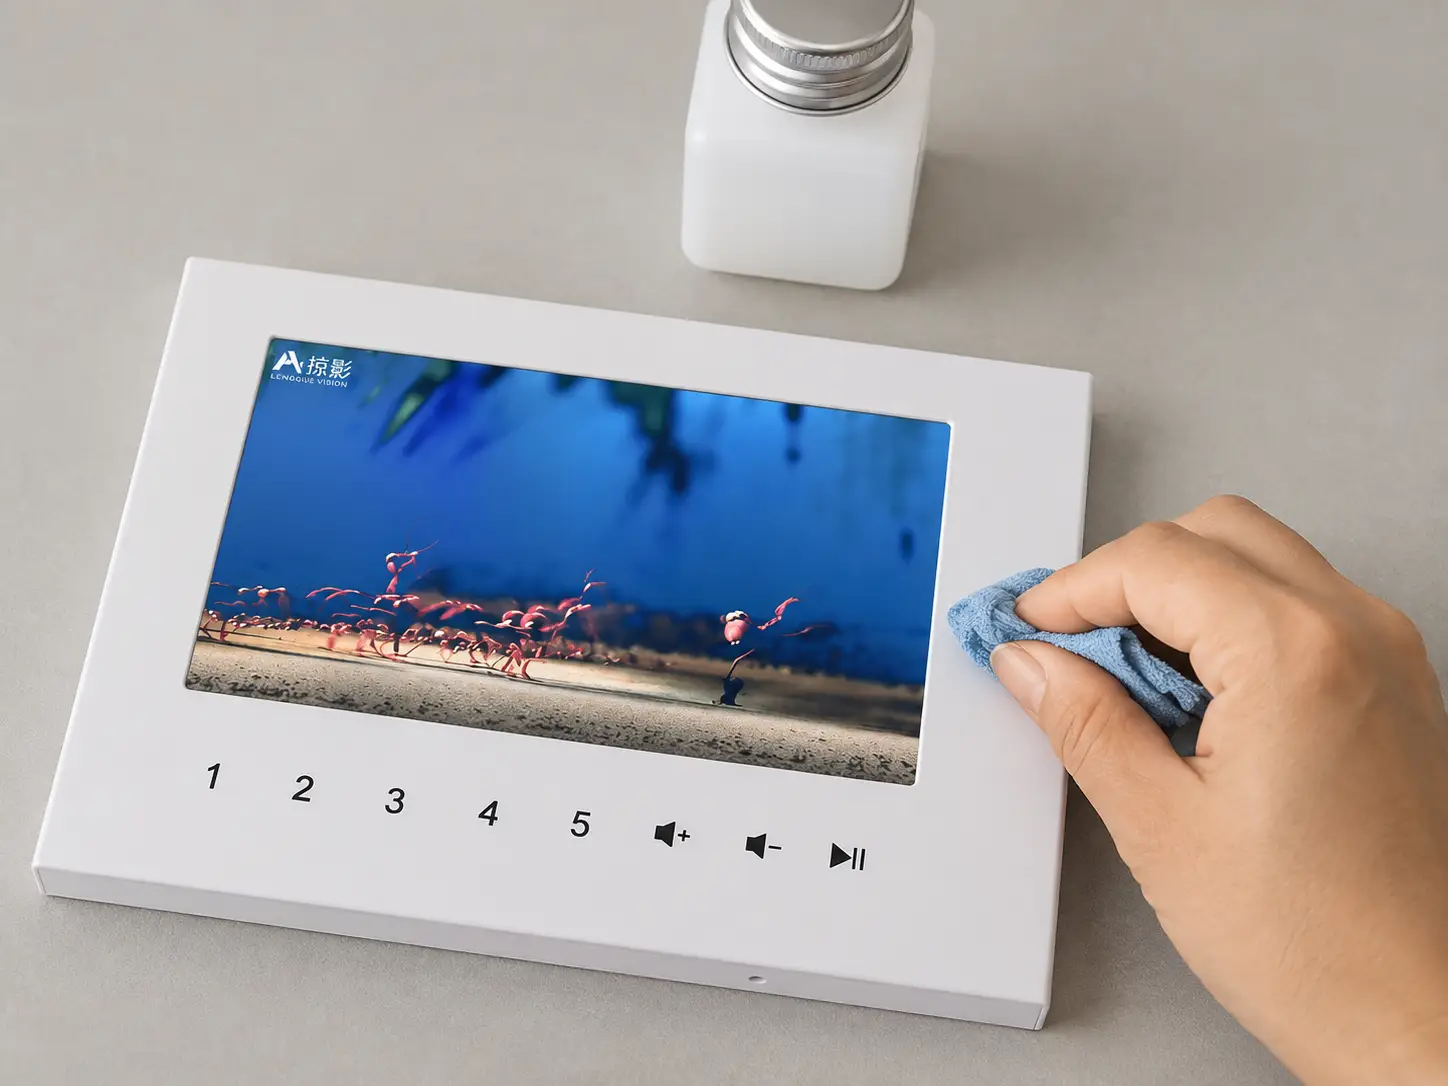
Step 8: Clean and Inspect the Finished Brochure
After testing, the screen and printed cover are cleaned to remove dust, fingerprints, adhesive residue, and other marks.
The finished brochure is also visually inspected for screen alignment, printing quality, surface condition, button position, and overall appearance.
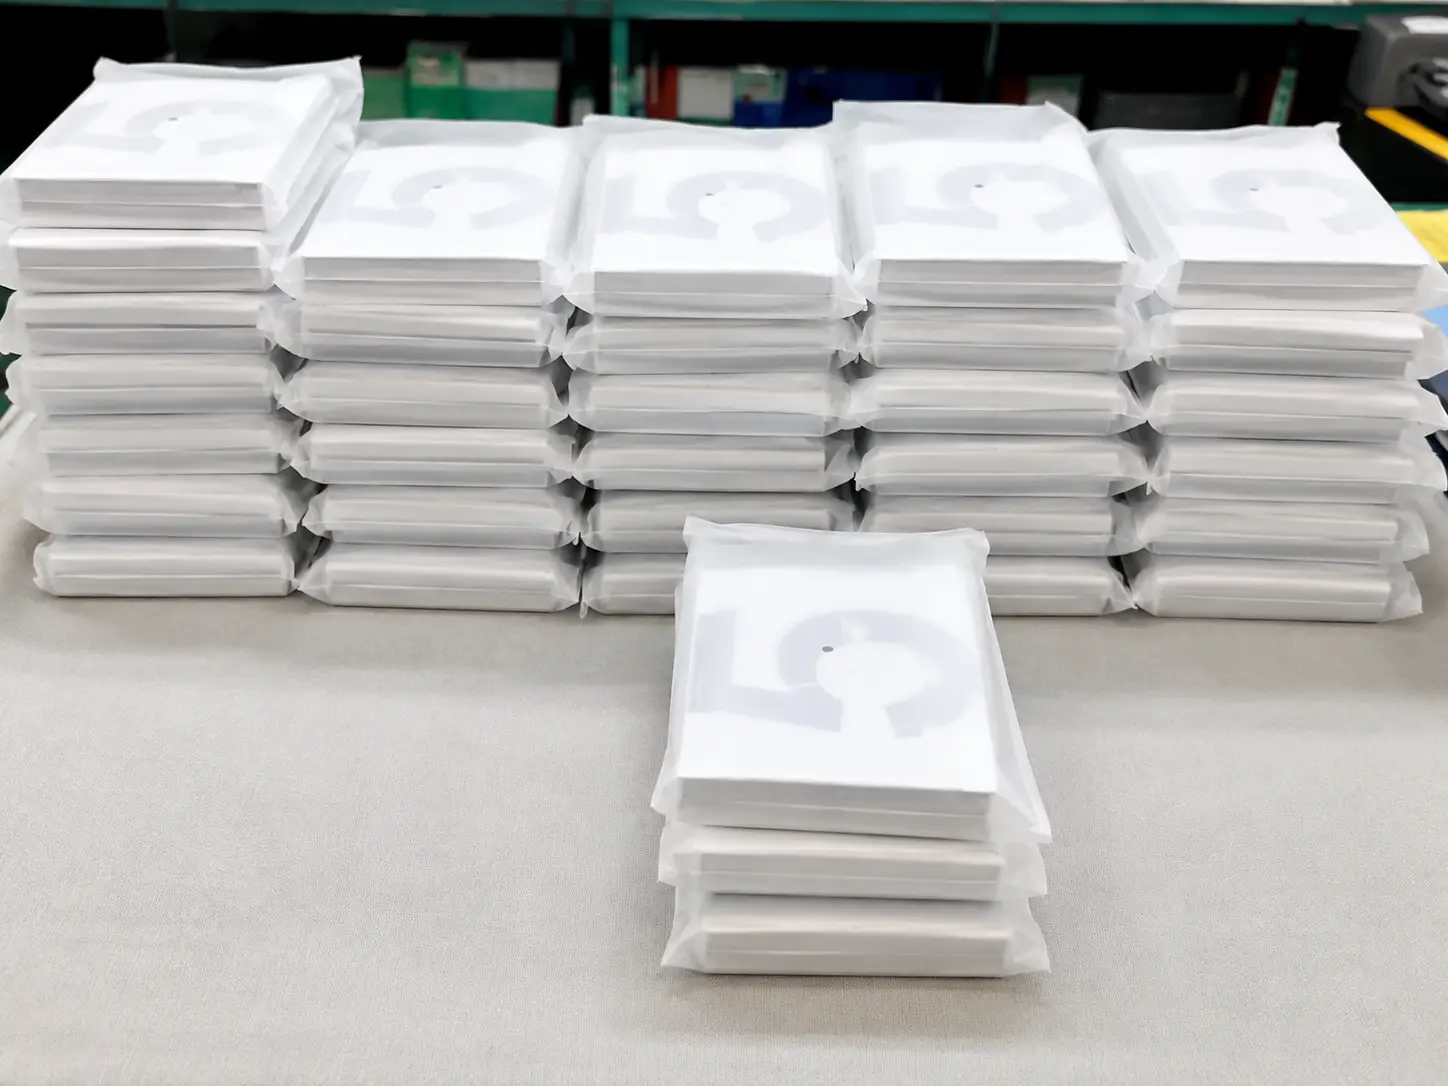
Step 9: Pack the Finished Video Brochures
After final inspection, each video brochure is packed in an OPP bag, foam bag, or other protective packaging depending on the project requirements.
The finished units are then placed into shipping cartons with additional protection for international transportation.
Common Assembly Issues to Check
Several details require special attention during video brochure production:
- Screen alignment: The LCD screen must match the die-cut window accurately.
- Magnet position: Incorrect Hall sensor alignment may affect auto-play.
- Artwork accuracy: Text, URLs, logos, and button labels should be checked carefully before printing.
- Video orientation: Portrait or landscape video should match the screen and brochure layout.
- Memory capacity: The final compressed video files must fit within the available memory.
- Button position: Printed button icons must align correctly with the electronic switches.
Checking these points before and during production can reduce rework and help maintain consistent quality across the full order.
Frequently Asked Questions About Making Video Brochures
How long does it take to make a custom video brochure?
The production time depends on the quantity, screen size, cover structure, printing requirements, and customization level. A typical custom video brochure project usually takes around 7–15 business days after artwork and sample approval. Projects with complex structures or special finishing options may require additional time.
What files are needed to make a custom video brochure?
For a custom video brochure project, manufacturers usually need print-ready artwork files and video files. Artwork can be prepared in AI, PDF, or other suitable formats based on the die-cut template. Video files are normally provided separately, tested, and preloaded into the brochure before shipment.
Can I upload my own video to a video brochure?
Yes. Customers can provide their own video files for preloading. CheerTrend can also assist with video uploading and testing before shipment to ensure the video playback, screen display, and audio functions work properly.
What is the minimum order quantity for video brochures?
The minimum order quantity depends on the project requirements and customization level. Prototype samples can be produced from 1 piece for testing, while bulk production is commonly used for marketing campaigns, sales presentations, real estate promotions, healthcare communications, and corporate events.
Conclusion
Making a video brochure involves two main stages: choosing the right product specifications and assembling the printed and electronic components correctly.
Screen size, memory, brochure dimensions, printing, buttons, and playback method should all be confirmed before production. Once the artwork is approved, the brochure moves through printing, screen assembly, functional testing, cleaning, and final packaging.
If you are planning a custom video brochure project, preparing your video file, artwork, quantity, preferred screen size, and delivery destination in advance can make the quotation and production process much faster.